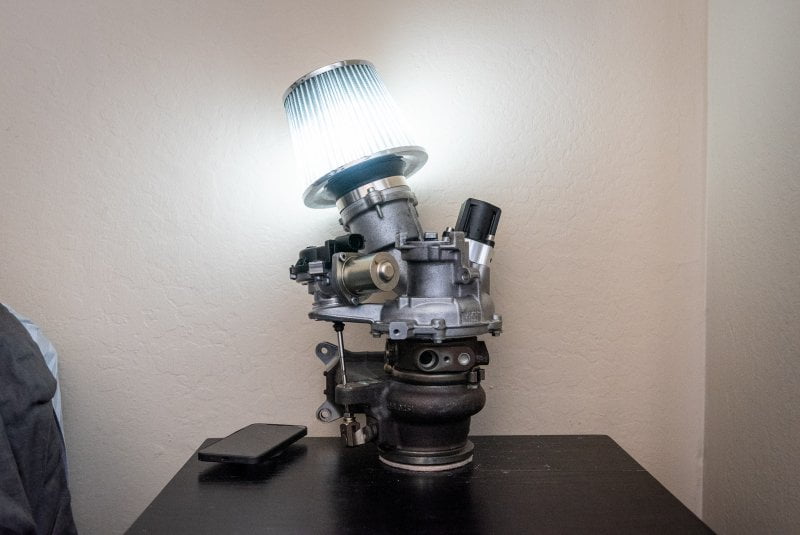
How To Build An IS20 Turbocharger Desk Lamp
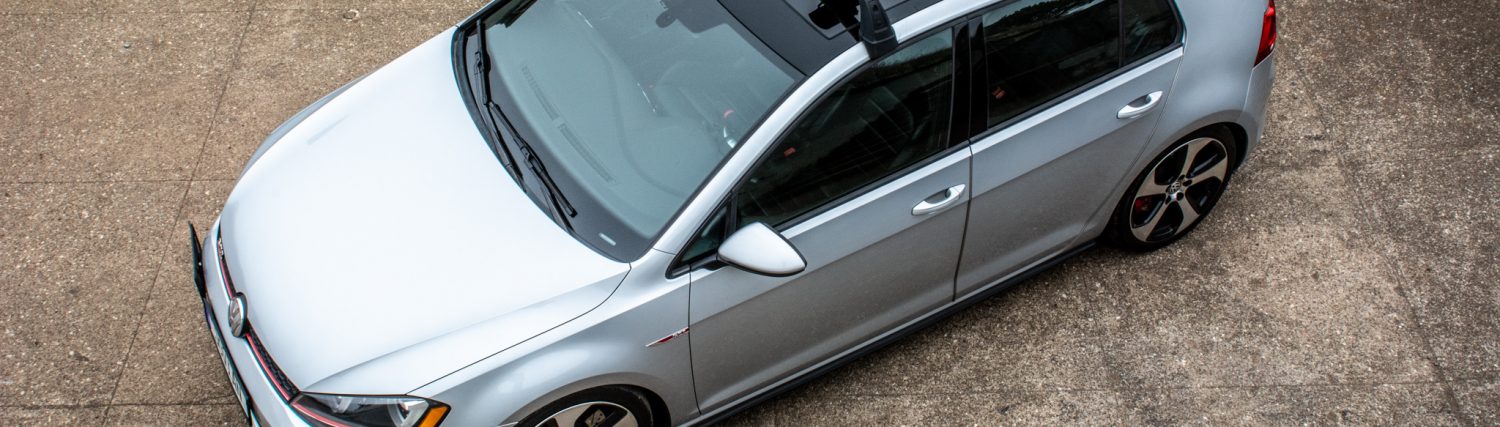
I recently had a bearing go in my stock IS20 turbo on my GTI. Due to the extra play in the shaft caused by the failed bearing, the turbine blades were starting to nick the turbo housing. Turbos are really interesting pieces of machinery and I don’t think most know just how cool they look. So I decided to make something that would display it.
After much thought, I had an idea. Over the last few decades, combustion vehicles have been moving to forced induction (turbocharger/supercharged engines) to get better power out of smaller engines while still getting great gas mileage. I thought turbos would be in all cars eventually. But sadly that is not turning out to be the case. Although turbos are more popular than they used to be, it’s now electric cars that are the future and will eventually replace combustion engines. I found it fitting due to this to make a lamp out of the turbo. Morphing the combustion engine turbo into an electric lamp symbolizes the eventual movement to electric vehicles. It turns out there were already turbo lamps being sold on the internet so I was disappointed this wasn’t an original idea. Either way, I am going to be putting my spin on it.
With the turbo itself being so neat looking, to begin with, I didn’t have to do much to it. It surprisingly was balanced well enough that if I place it vertically on the exhaust housing outlet it can stand up straight.
Making the lamp:
- First step was cleaning up the turbo. There are both oil and coolant lines going to the turbo and I had a leaky valve cover spraying oil all over it. It took a fair bit of time with a stiff brush along with dish soap and water to get it acceptable to be placed inside a house.
- Its heavy and metal so I needed something to go between it and the surface it will be sitting on. I picked up some heavy duty felt sheets that I measured and cut to go over the exhaust housing outlet. This is easily the stiffest and strongest felt I have dealt with. Its hard to bend which means it was very hard to cut in a circle. It should not collapse under the weight of the turbo and will prevent scratching and dings.
- I picked up a basic lamp wiring kit which made things significantly easier. This kit is cheap, you wont see much of it anyways once I am done.
- Routing the wire wasn’t obvious to me at first. The intake housing where the light bulb will be doesn’t have any open cavities to the exhaust housing. So I would need to enter through one of the other orifices of the intake housing. I wanted to use the intake outlet for the bulb, and leave the inlet open to see the turbine. This leaves only the diverter valve orifice as the one I will using. I also wanted to retain having the DV on the turbo so I used a BOV spacer I had lying around. This goes between the turbo and the DV and has little holes the wires can go through. I also routed the wires in and out of the exhaust housing to keep the wire more contained and along the side of the turbo.
- Because I wanted to recess the lamp bulb socket in the intake housing I couldn’t access the on/off switch. I picked up an inline switch to add to the exposed wire in between the exhaust and intake housing. This makes it easily accessible and makes the exposed wire between the exhaust and intake housing purposeful.
- Trying to keep with the automotive theme I picked up a intake cone filter to use as a lamp shade. The worm clamp it came with I adjusted to be snug on the rubber base of the cone filter and taut enough to barely fit between the three turbo muffler bolts heads. This makes it easily removable for bulb replacements.
- I tried a few different bulbs I had on hand a CFL 1570 lumens and an Ikea LED 800 lumen. Ended up getting this one due to the 1500 lumens and shorter height. Really any high lumen bulb that can penetrate the filter will work well. I needed a shorter height to clear the filter shade.
- I also tried it without the cone filter shade and put in a bare bulb that has a low lumen classic exposed wiring look to it. This turned out pretty good, not sure which I prefer but its easy to switch between the two setups.
The results:

| 
|

| 
|
So far those I have asked like the filter shade better than the exposed bulb but the ones who like the exposed bulb are adamant toward it. The project turned out pretty good and wasn’t that hard to put together. I like how it evolved and am glad to have it on my computer desk. I think it is an interesting piece of decor and a great conversation piece.